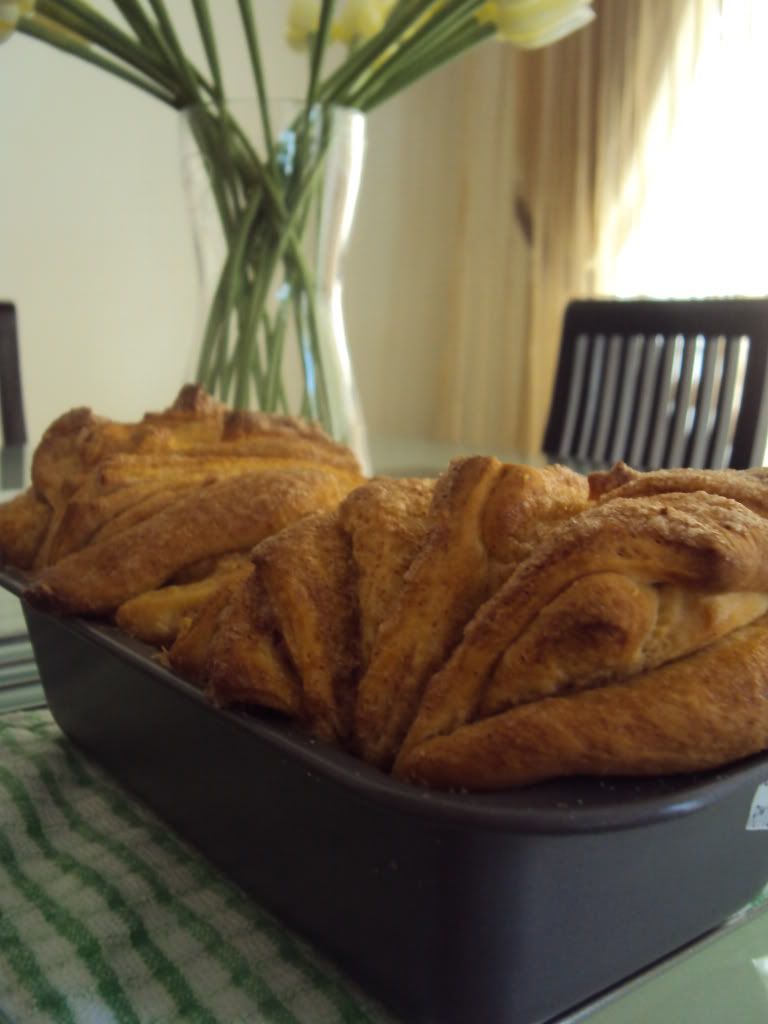
I got a huge treat for you all! My love for bread is one of the main reasons to why I would like to open my own bakery. Waking up to the smell of freshly baked bread is just heavenly, thanks mom for that! :) But back to the topic, I will be presenting you today the most delicious load of bread covered in flavoured sugar. The smell of cinnamon and freshly baked bread will fill the house while it is in the oven. The temptation of just taking a bite out of it even before baking is strong but like my mom use to say, good things come to those that wait! So you will just need to be very patient as the bread proofs twice before it is ready to bake, by that time you should be eyeing the timer and wondering why does 30 minutes feels like forever! I hope I have gotten your appetite going, now lets get straight into it.
Recipe from Joy the Baker
Cinnamon Sugar Pull Apart Bread
For Dough
2 3/4 cups plus 2 tablespoons all-purpose flour or more...
1/4 cup granulated sugar
2 1/4 teaspoons (1 envelope) active dry yeast
1/2 teaspoon salt
2 ounces unsalted butter
1/3 cup whole milk
1/4 cup water
2 large eggs, at room temperature
1 teaspoon pure vanilla extract
For Filling
1 cup granulated sugar
2 teaspoons ground cinnamon
1/2 teaspoon fresh ground nutmeg
2 ounces unsalted butter, melted until browned
Step 1 ( Making the Yeast Dough )
Whisk together 2 cups of flour, sugar, yeast and salt in a bowl and set aside. Whisk 2 room temperature eggs and set aside. Melt butter in milk then add water and vanilla extract to it.
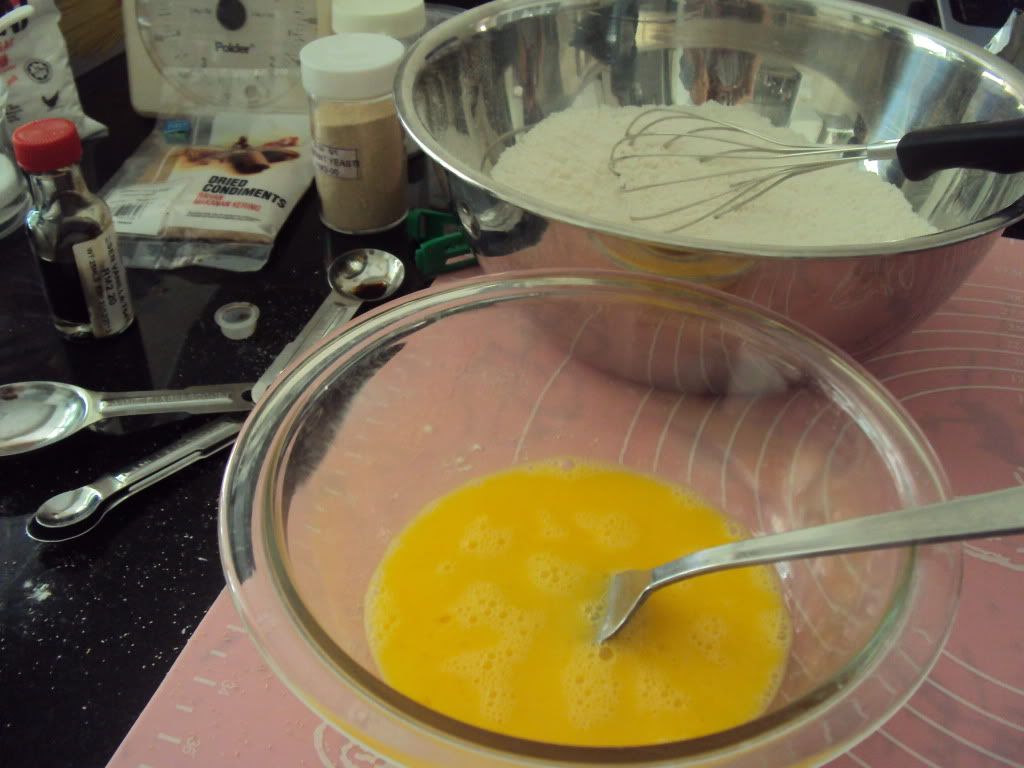
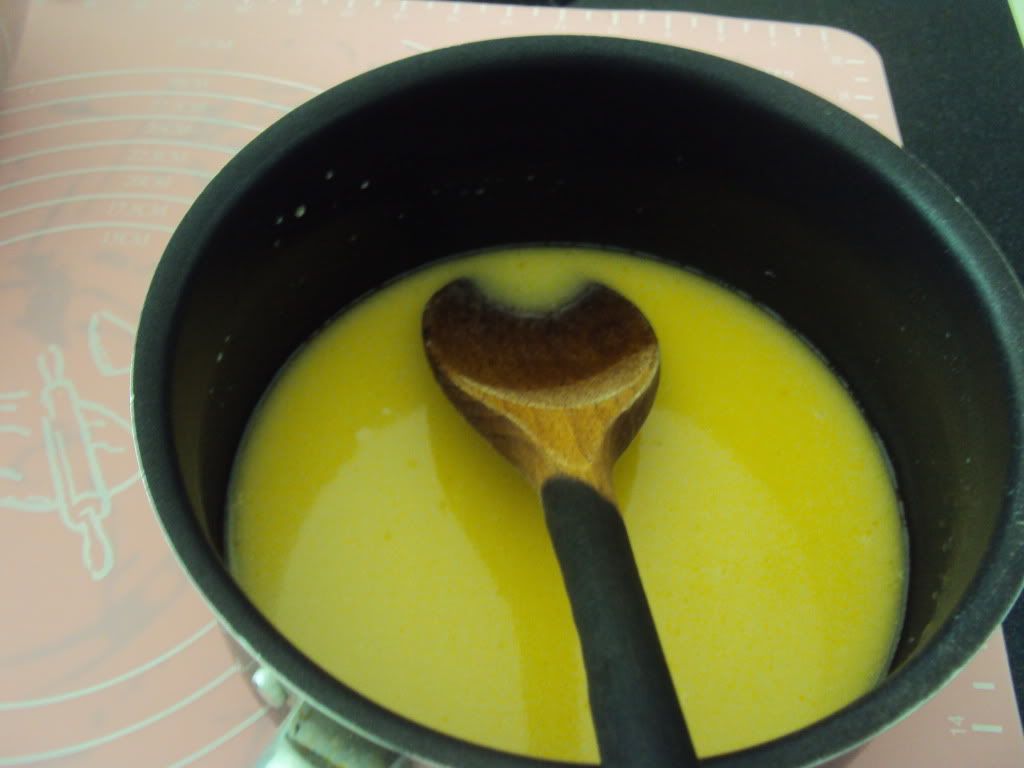
Next mix in the butter and milk mixture into the dry ingredients. Before you do so, ensure that the temperature of the butter and milk mixture is between 43 to 46 degrees Celsius. *For those of you that are new to this, I suggest using a kitchen thermometer to measure as this is a crucial step. Too hot the yeast will die, not warm enough the yeast won't be as active and the dough won't rise enough.* I did all of this by touch as I am familiar with the right temperature required for yeast. Once you incorporate the milk and butter mixture, mix in the eggs.
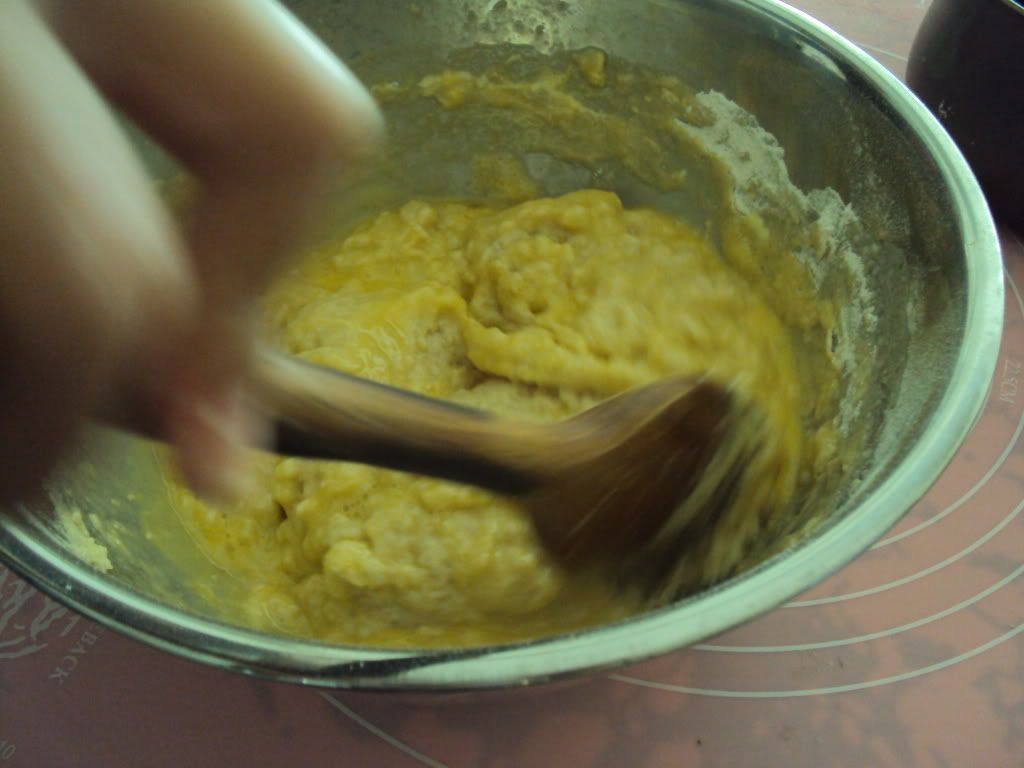
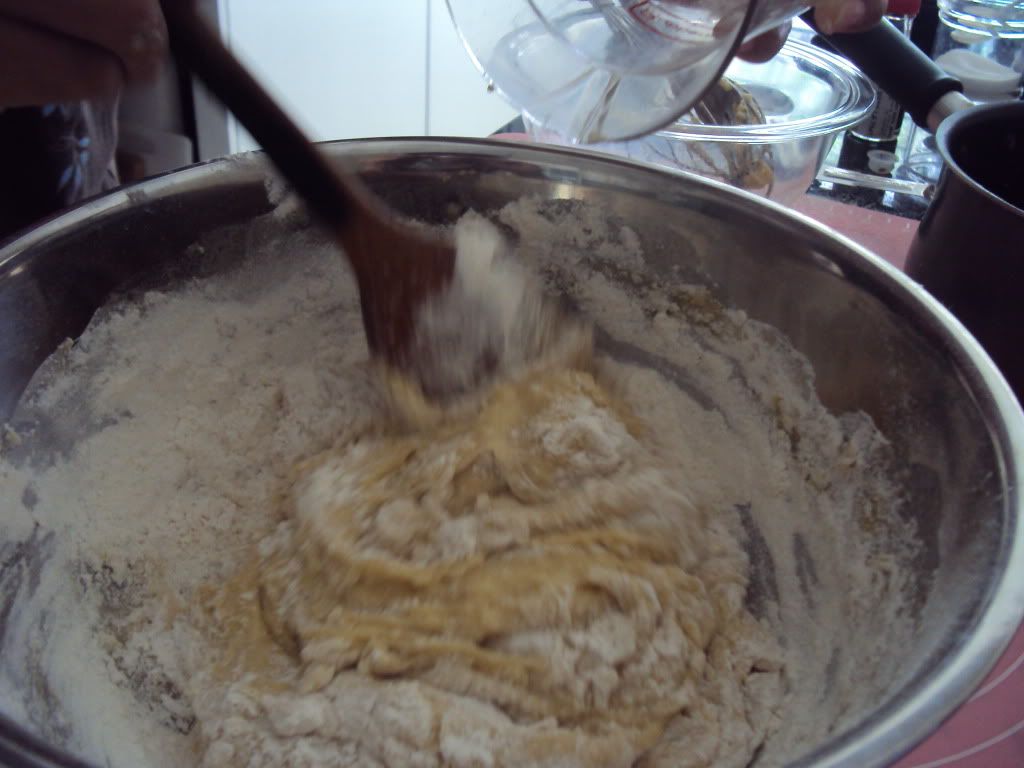
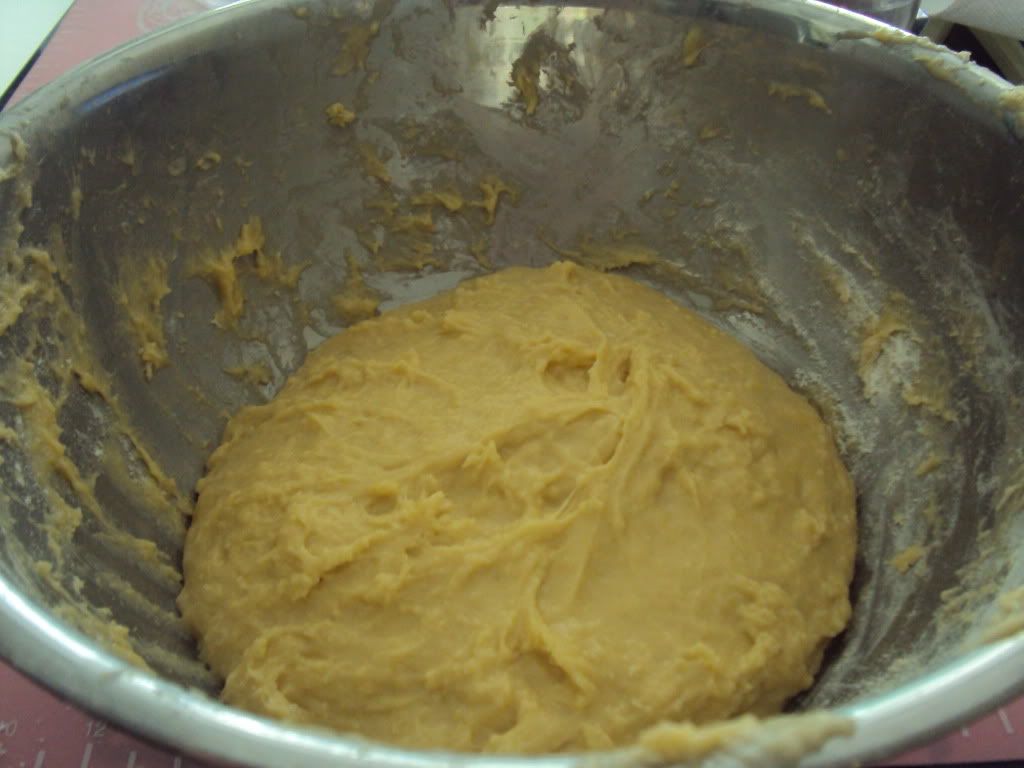
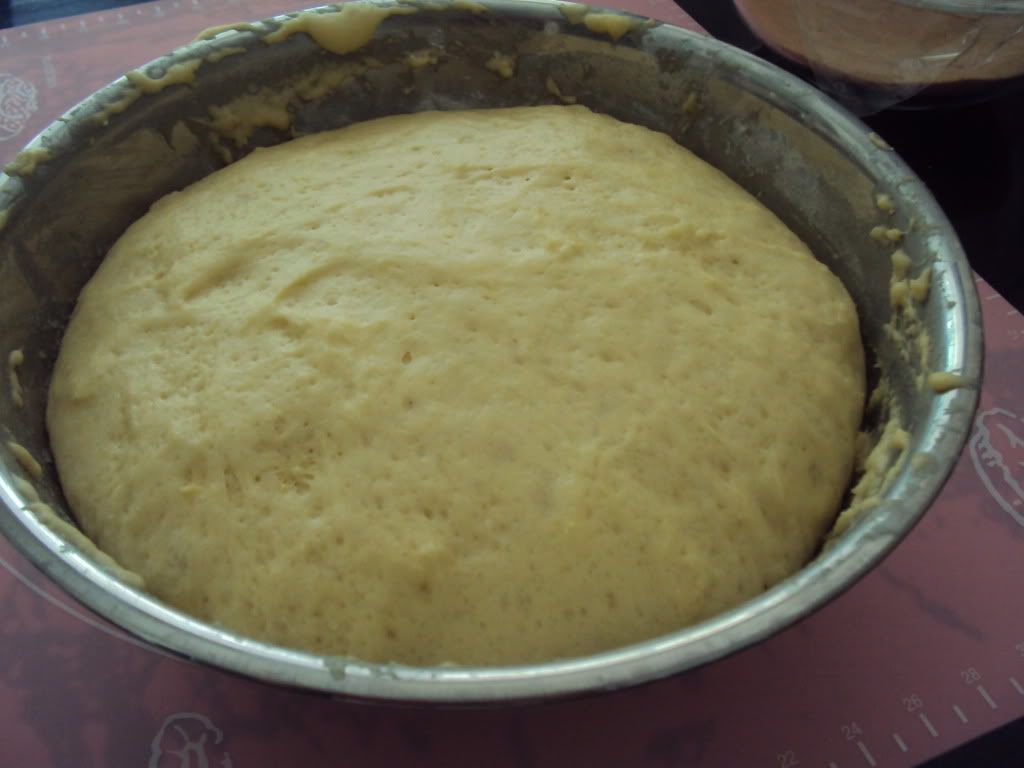
The mixture will feel very soupy but that is alright keep stirring and add in 3/4 cup of flour into the mix. The mixture should appear to have a very sticky dough like consistency. As this is my first attempt at this recipe, I added in more flour than stated in the original recipe as the mixture appears to be more batter than dough like consistency. So I added an additional 2-3 tablespoons of flour till I felt it was sufficient. It should still be sticky before you leave it to proof in a warm place for about an hour and a half or till it doubles in size.
Step 2 ( Cinnamon Sugar and Melting Butter )
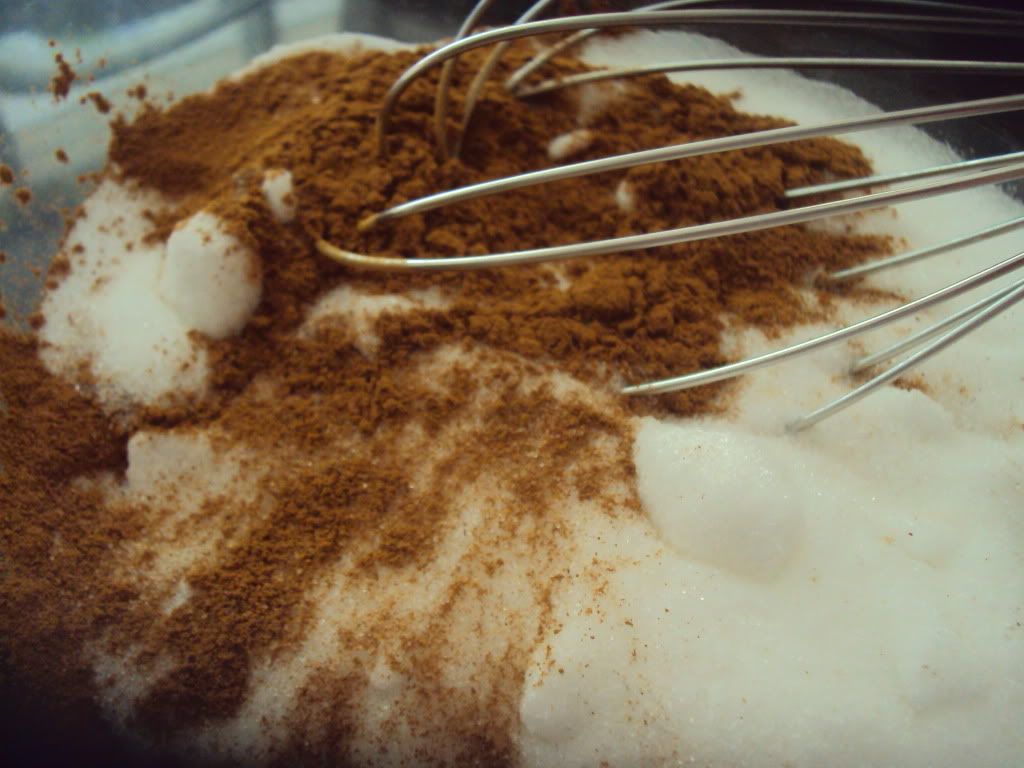
As you wait for the sticky dough to finish proofing , start working on your cinnamon sugar at the last 15 minutes before proofing is done. Whisk 1 cup of caster sugar and 2 teaspoons of cinnamon. The original recipe asks for nutmeg, but I omitted it and it still tastes fantastic! set it aside.
Then work on melting butter till it goes a nice brown colour in a pan, put that aside for it to cool down. By now the dough should be ready.
Step 3 ( Rolling the dough )
Punch the dough to deflate it then knead in another few tablespoons of flour. The dough should be smooth, soft and easy to handle. If it is still sticky, add more flour into it. I added about another half cup of flour before it became smooth, soft and no longer sticky. So do not follow this recipe to the bone, add more flour if you have to but slowly add a tablespoon at a time to avoid overloading the mixture with flour.
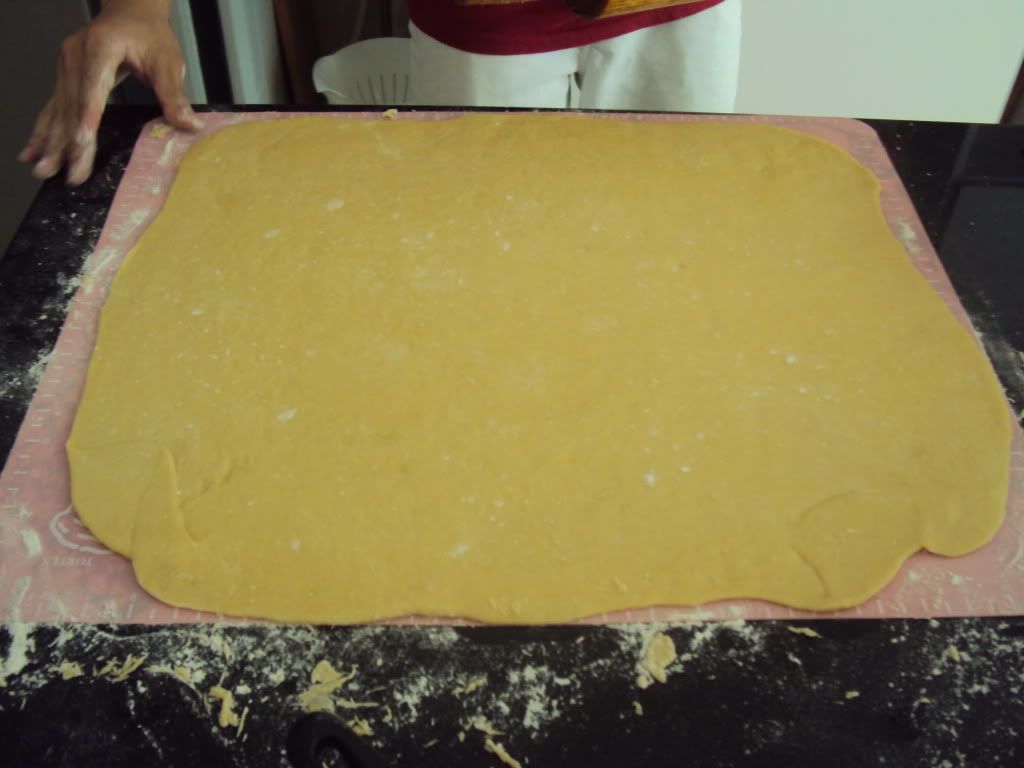
Once the dough is ready, with a rolling pin, roll a 58 cm Long by 38 cm Tall, your dough will not necessarily be that exact measurement, just roll as much as you can.
Step 4 ( covering the dough with sugar and butter )
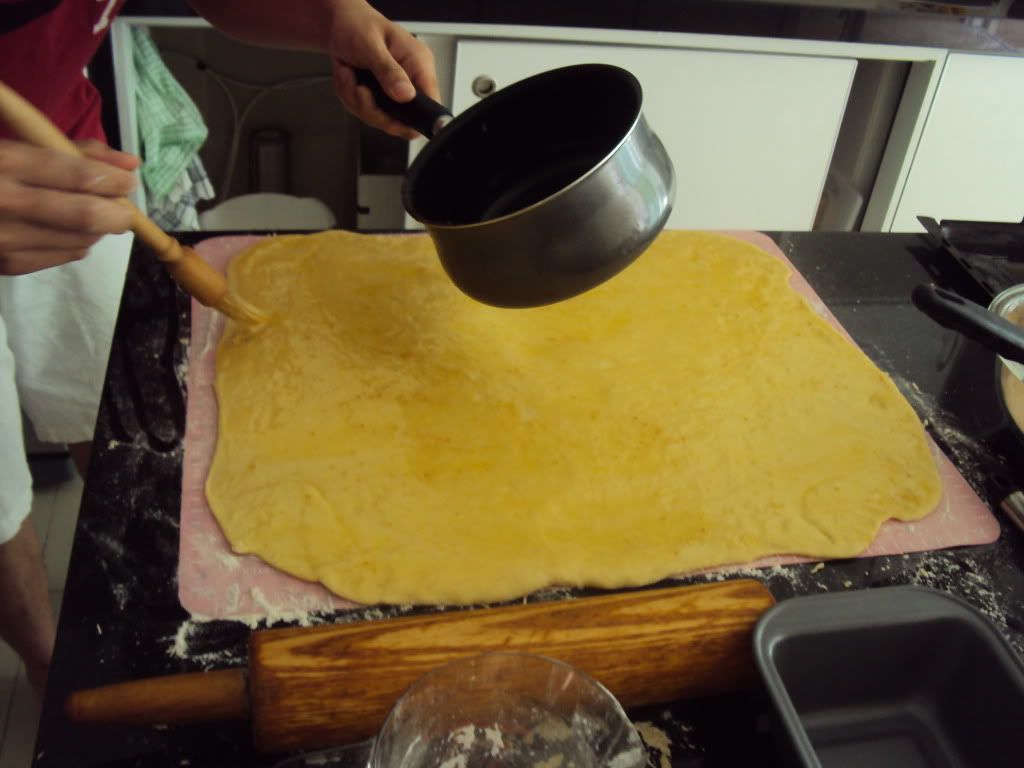
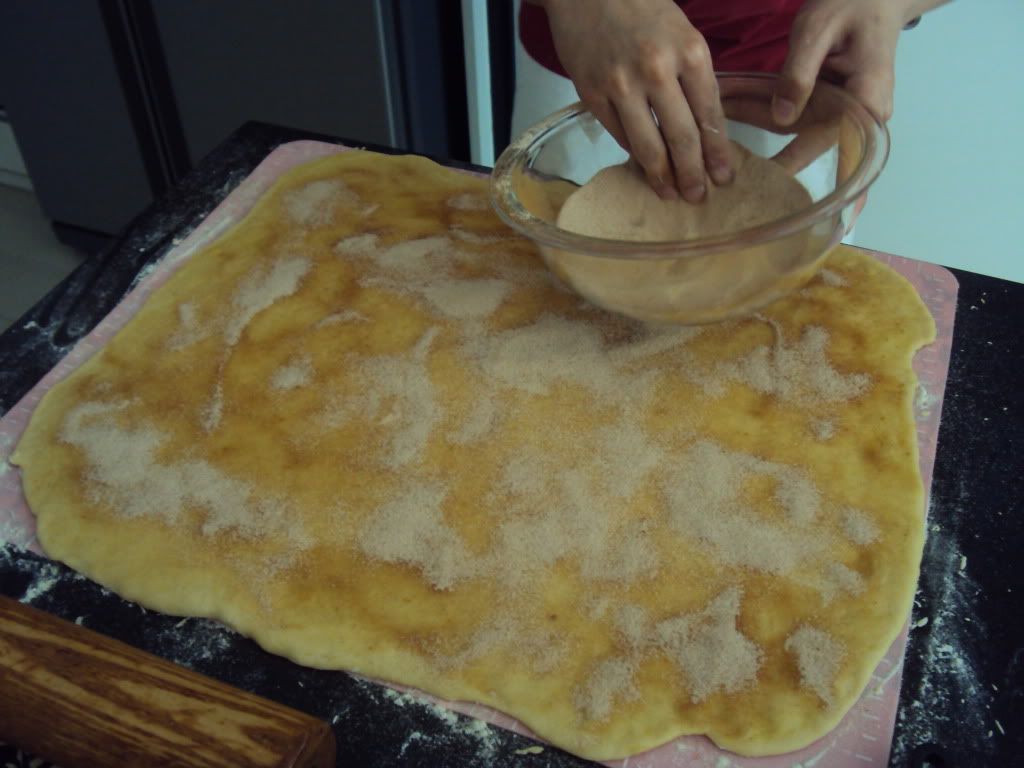
Then with your melted browned butter, brush it all over the dough surface covering every inch of the dough. Sprinkle the cinnamon sugar all over the butter covered dough. I know it is alot of sugar, but trust me don't hold back on it and just sprinkle till your hearts desire!
Step 5 ( Slicing and Stacking the dough )
Take a pasta wheel cutter or a sharp knife, cut the cinnamon sugar covered dough into 7 vertical strips. Then stack the 7 vertical strips on top of each other. When trying to remove the dough strips to stack, the dough will probably be sticking to the surface, so be gentle when removing the dough. It doesn't have to be perfectly straight when stacking, it will still look and taste good after baking! :)
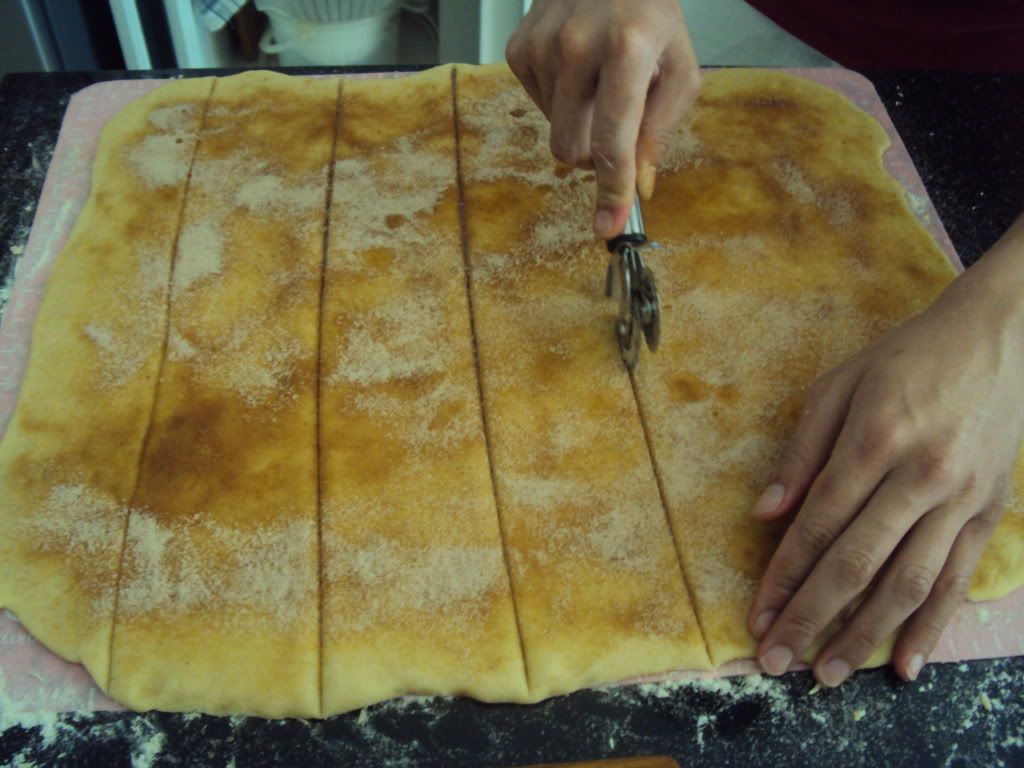
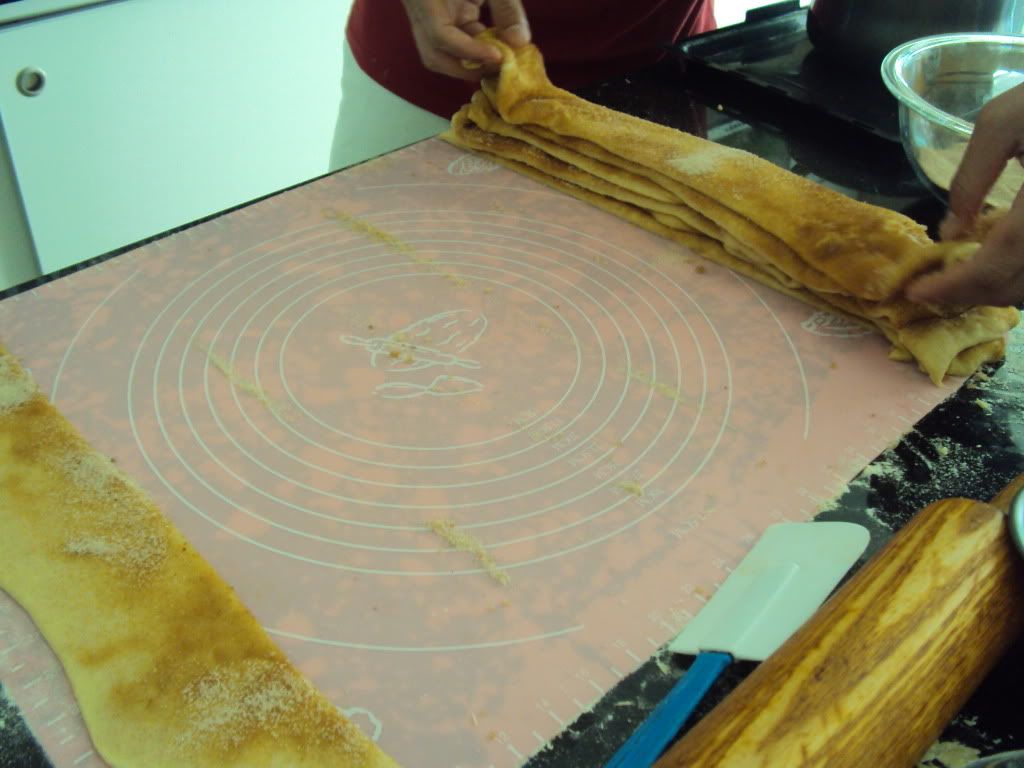
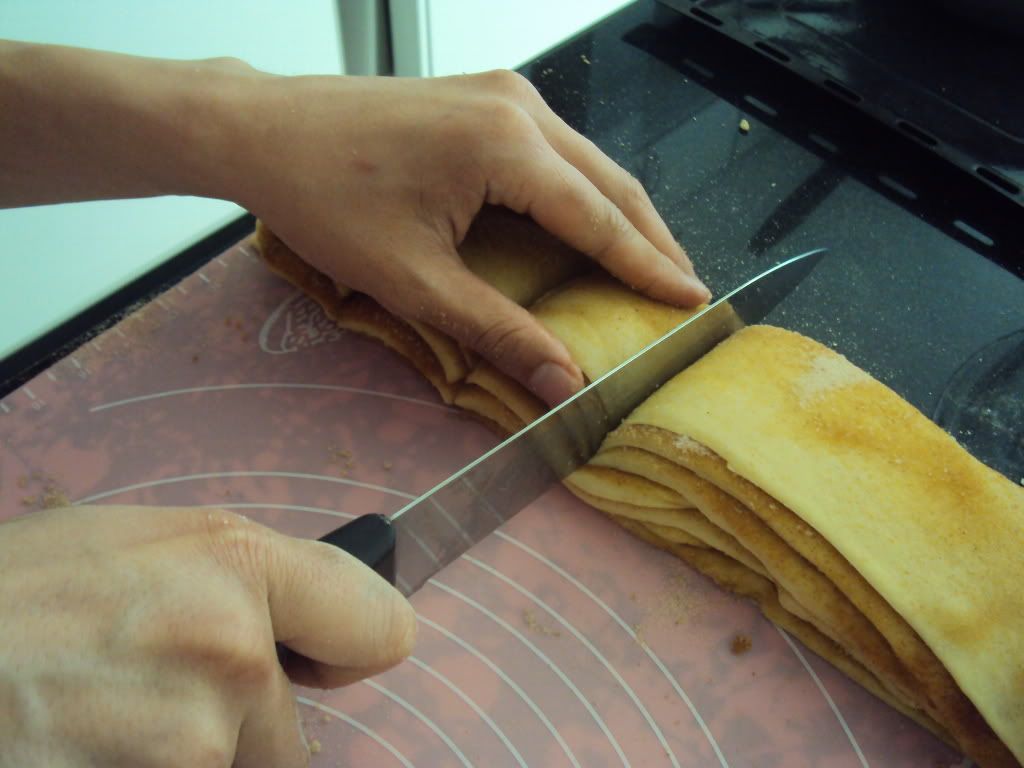
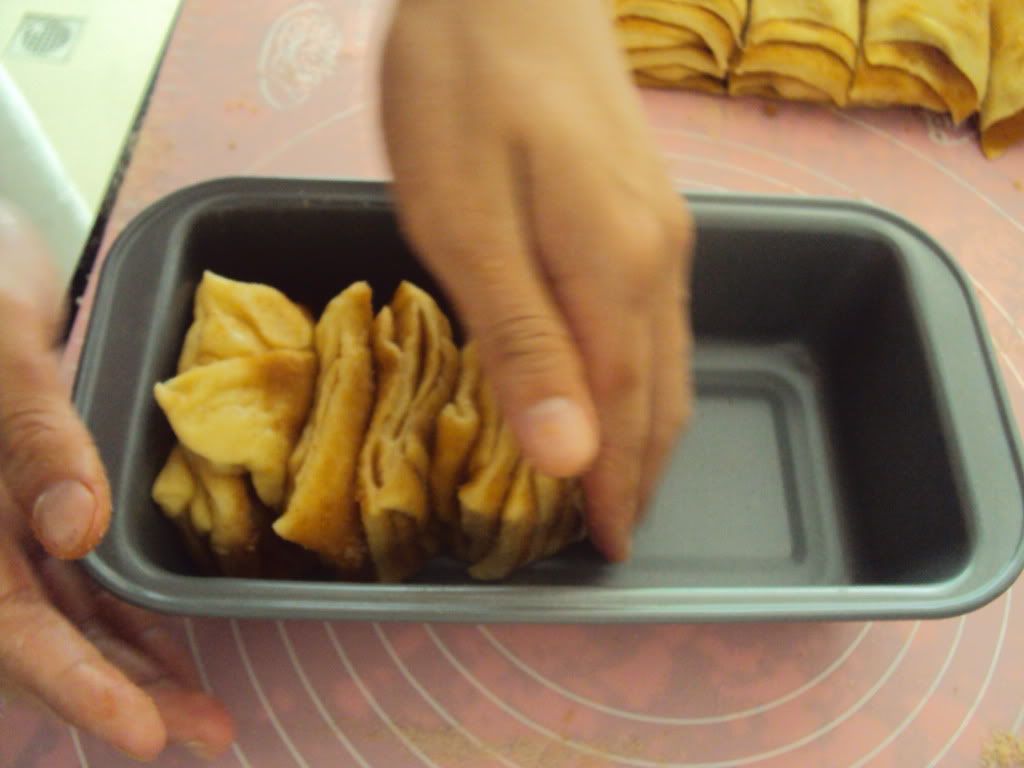
After stacking, take a sharp knife, cut through the stack of dough vertically into 7 separate pieces. The size of each piece doesn't need to be exactly the same. Transfer that 7 pieces into a 9 x 5 inch loaf pan, it didn't fit perfectly for me so I had to squeeze the last 2 pieces into the pan. Let it proof again for another 30 minutes before baking it for about 30 minutes in a preheated 175 degrees Celsius oven or till the top is golden brown.
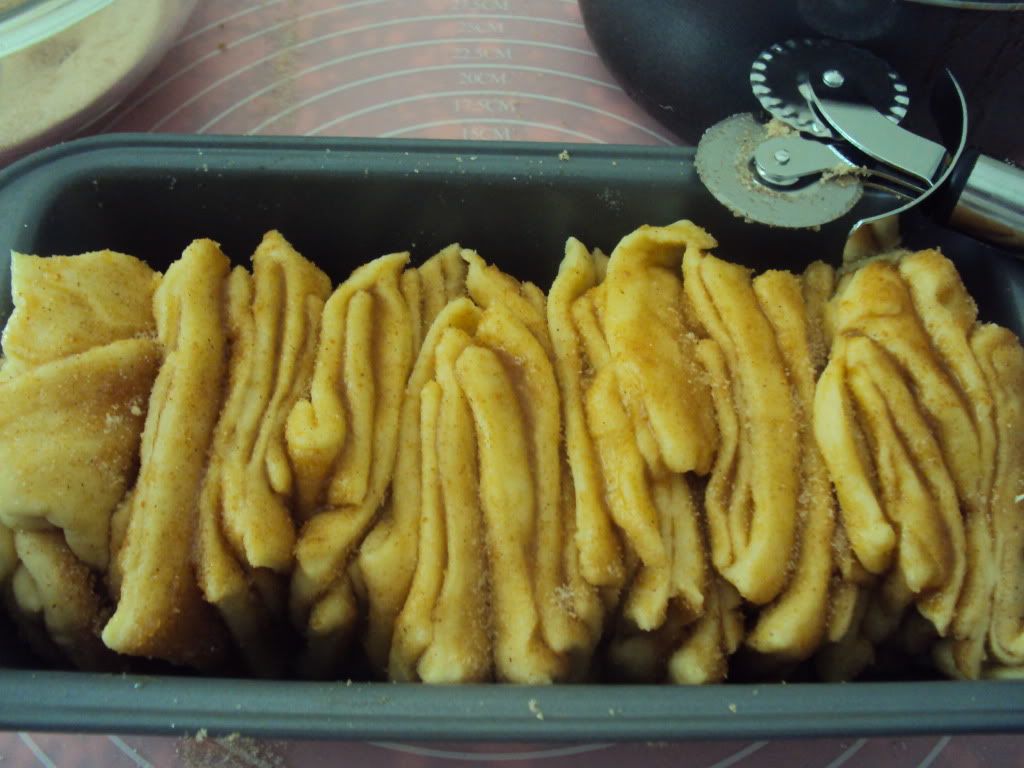
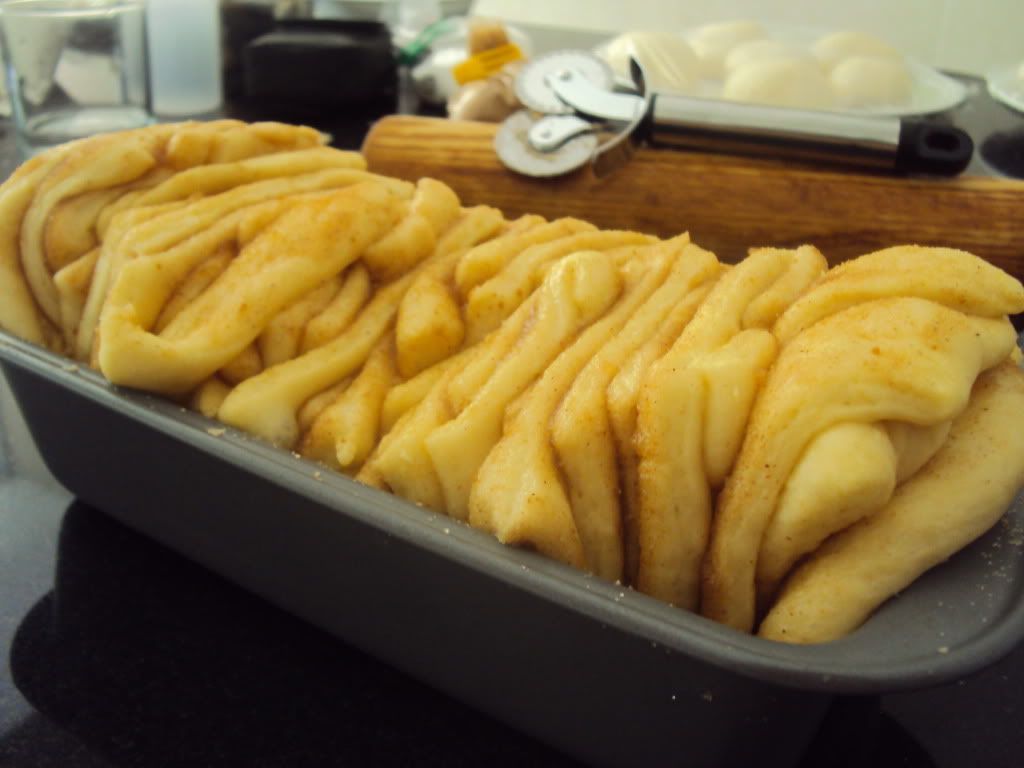
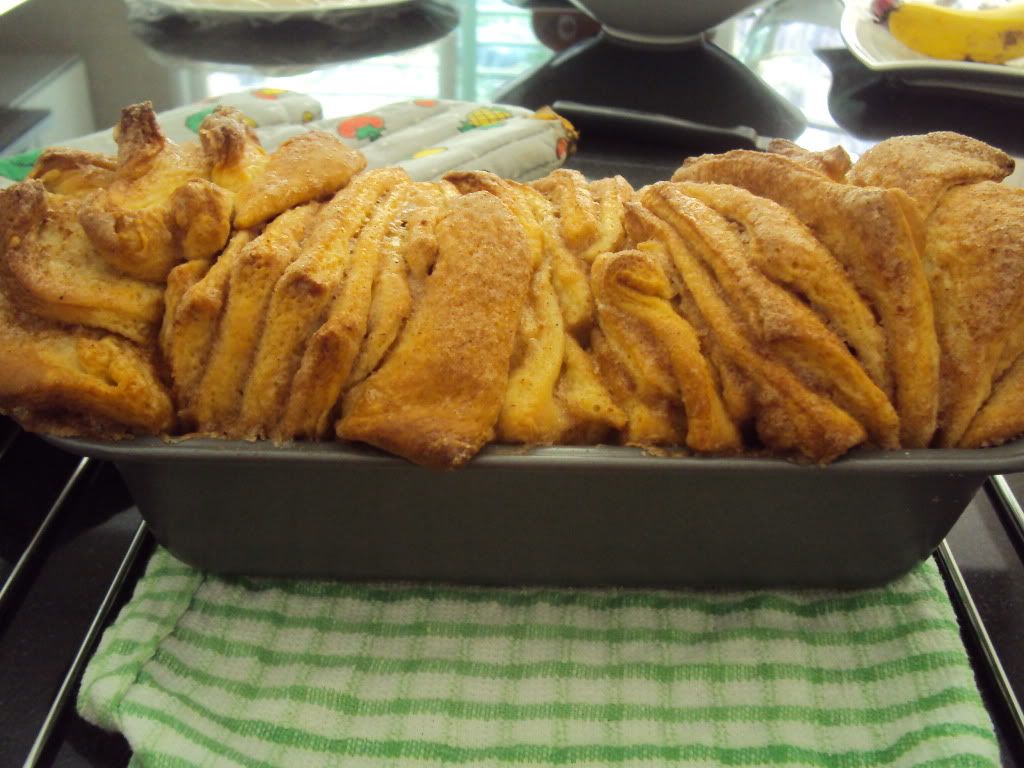
At the 15th minute mark, the smell of cinnamon and freshly baked bread has filled the house. It is just one of those smells that you will never get sick of! The outcome was a beautiful looking loaf of bread covered in butter and cinnamon sugar :)
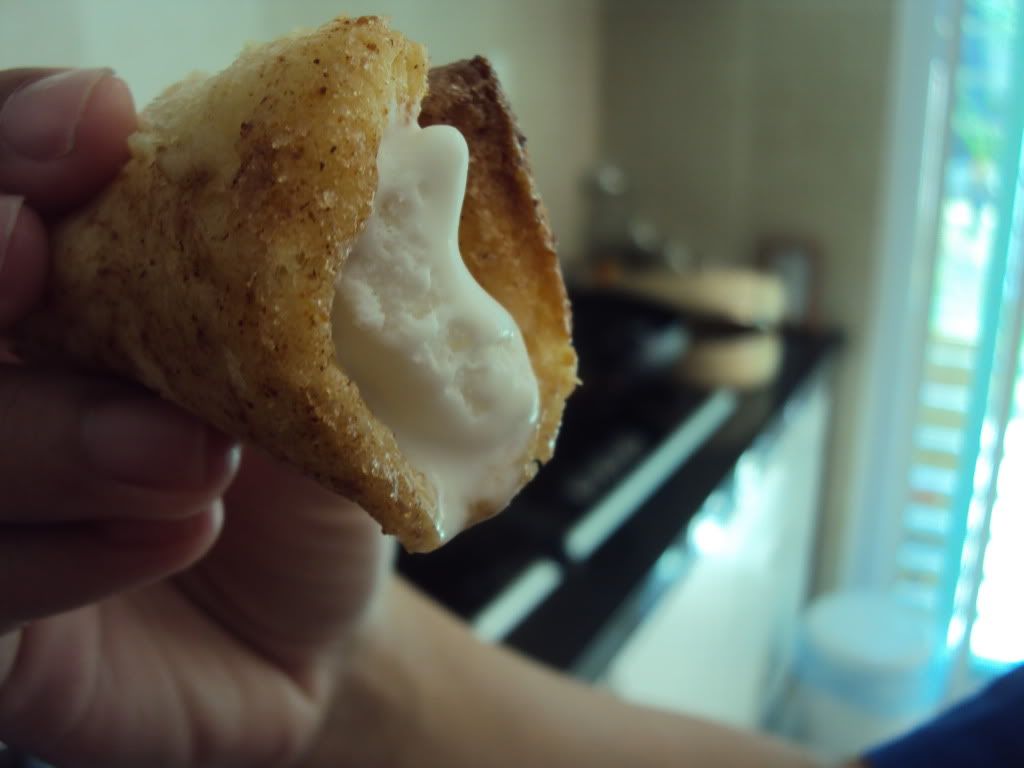
My sister even got creative and decided to make it a cinnamon sugar bread ice cream sandwich! Absolutely fantastic!
Personal Notes
1) The amount of flour will vary, use more if the mixture is too sticky to handle. * A tip for this recipe - For the first step, DO NOT USE YOUR HANDS! The dough will stick all over, use a wooden spoon to mix the flour into the dough.*
2) Try not to over flour the mixture for the first step as it should be sticky but firm enough that it isn't a batter consistency.
3) After proofing, when adding the additional flour, careful not to overdo it. The dough should feel soft, smooth and a little sticky, that is how it should feel. But as long you flour your rolling pin and fingers when rolling then it shouldn't be too hard to roll at all.
4) Here is a tip for those of you who don't have a cooking thermometer. Because 43-46 degrees Celsius is higher than our body temperature. Try to estimate by touching the butter and milk mixture. If it is too comfortable then it is too cool, if it feels untouchable then of course it is too hot for the yeast. So it should feel somewhat comfortable to touch. It took me a while to get the hang of the temperature, even now I doubt myself sometimes. A thermometer of course would make things easier.
Please ask me anything if your confuse about my steps :) You can always check back to the original recipe if necessary!
R.Deou
No comments:
Post a Comment
Thanks for visiting my blog! I hope you have enjoyed reading it! I love comments and any comment would be appreciated. Thank you!